Goozzee's First Run
Once installation is done, you may wish to run Goozzee :-)On Windows computers, launch the GoozzeePE.exe located in the bin directory On Linux machines, go to the src/PE directory and type ./goozzeePE. If you use a Mac OSX computer, just double-click the GoozzeePE.app icon.
This will bring up the login dialog.

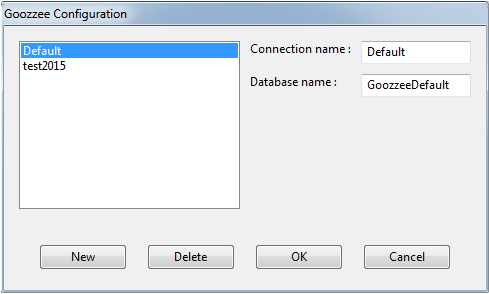
Of course, you can decide not to use the default reporitory, and define your own. To do it, just click on the Pencil button to open the configuration screen :

Here, you can create, delete or modify repositories. This can be handy if, for example, you want to separate your professional knowledge base from your private one.
Keep in mind that each repository is a separate database instance. And Goozzee can only access the data from one repostory at a time.
When creating a new connection, you just have to fill two fields :
- Connection name : the name that will appear in the list of connections, on the login screen
- Database name : the name of the database that will be created in your goozzee.docs/datafiles directory.